This series of tutorials will explain the use of Hammer's tools, situated as shown below on the left column.
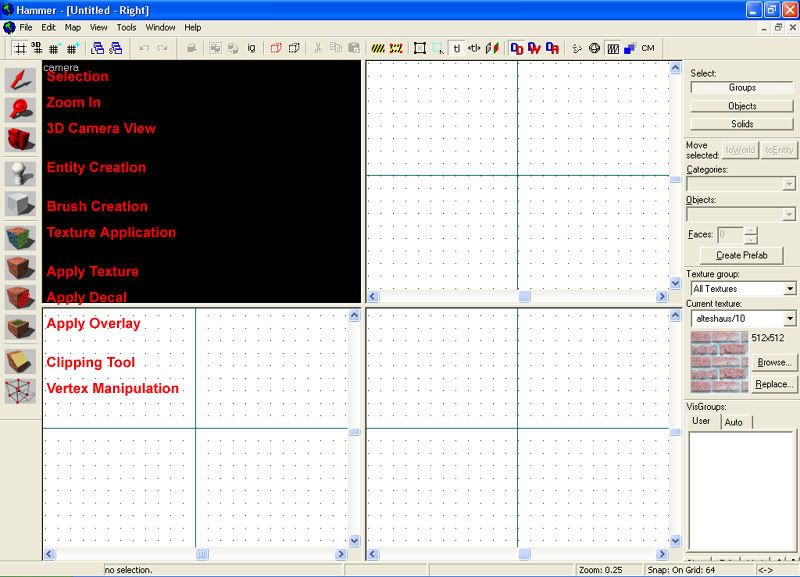
There are 11 tools, and while some are easy to use, others are more advanced but once mastered can decrease time spent on tasks such as creating new shapes, texturing, creating hills and much more for HL2 maps. I will start simple and explain the 1st 3 tools, selection, zoom and camera.1. Selection Tool.
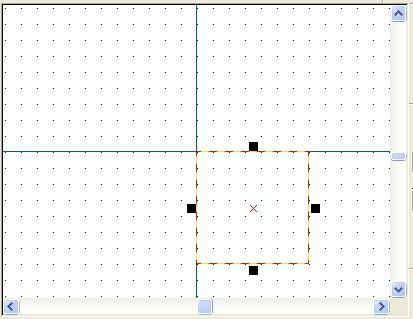
The selection tool is accessed at the top of the tools column, position your cursor and left-click on the pointer icon as shown in the diagram below. Then move your cursor to either the cross or the edges of the object, and left-click once again. Now the object should turn red to confirm that you have selected it.
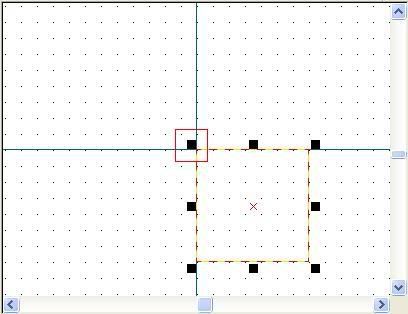
Once selected, an object can be manipulated in terms of size, and orientation.To resize an object, click and hold the left mouse button on the shown black squares, then move your cursor accross and you will see the size of the object change.
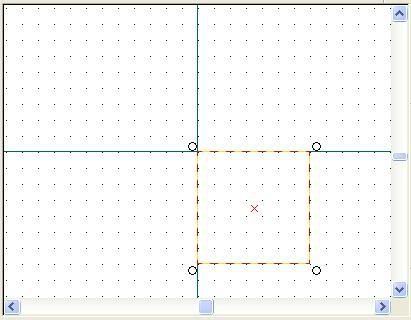
Object selection also allows you to rotate objects and manipulate their shape:With the object still selected and coloured red, left-click on it once more so that it reveals circles surrounding the object. Now click and hold the left mouse button on the circles as shown, and move the cursor so that the object visibly rotates.
To manipulate an object, left-click once again to reveal 4 black squares. Click and hold the left mouse button and move the cursor to alter the angles of the object.
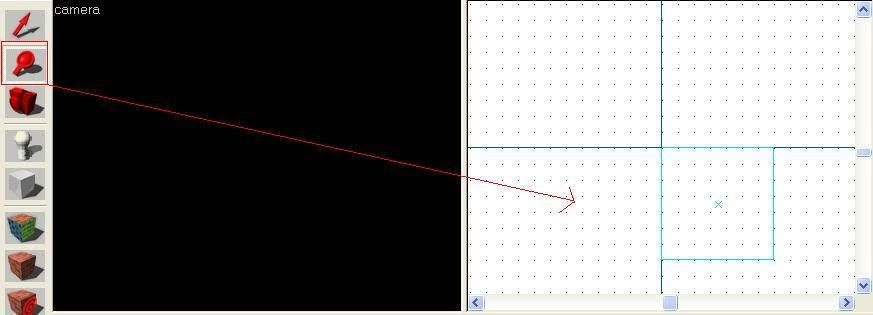
2. Zoom InThe zoom tool serves just to amplify the viewing windows and their contents. Left-click on the icon as shown below, then observe that your cursor has changed to a picture of a magnifying glass. Once done, left-click on one of the viewing windows and zoom in. To zoom out, right-click to reveal a small window, and select the option to zoom out.
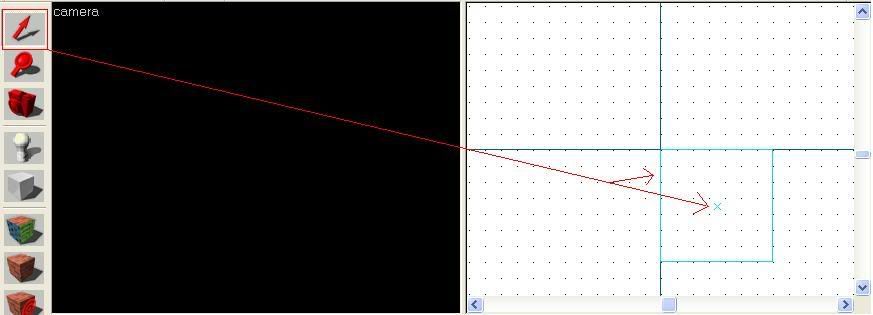
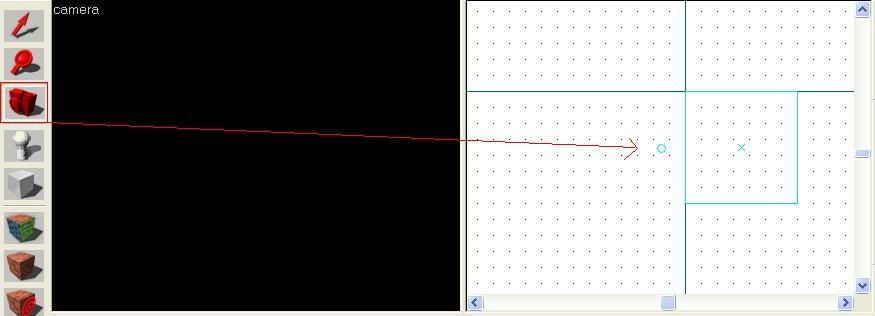
Note: You can also zoom in and out by positioning your cursor over the desired window, and then by pressing 'D' and 'C' on the keyboard.3. 3D Camera ViewThe black window in the top left of your map view represents what your map will look like in the game. Therefore it is useful to check this without having to load it up. Position your cursor over the icon shown below and left-click. Now left-click on a viewing window (not the 3D view window) and left-click, so that a small circle appears on the window.
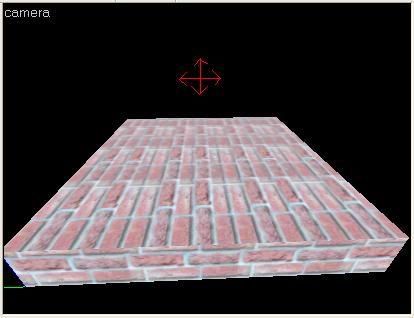
Now return to the 3D view window and click and hold the left mouse button. Move the cursor any direction to direct the viewer. You should see the wall come into view. You may 'travel' accross the map by using the W, A, S, D keys.
The following tools are covered as separate tutorials in their own right:
Entity Creation
Brush Creation
Texture Application
Apply Texture
Apply Decal
Apply Overlay
Clipping Tool
Vertex Manipulation
No comments:
Post a Comment