This short tutorial will explain how to use the entity tool in Hammer. The entity tool allows you to place an entity into the map, which is non-brush based object, such as a prop, monster or light into your map. The first step is to make a room in which to hold the entities, as explained in the brush tool tutorial. Entities cannot be created without this being done first. It will shortly become apparent why this is.
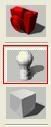
Left click on the entity tool, as shown on left column in the figure below. Next, choose an entity from the object bar. If you cannot see the entity window, click on the tools menu, and then move the cursor to the ‘screen elements’ and make sure the ‘object bar’ is ticked in the list.
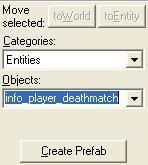
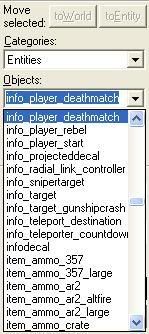
As shown below, left click on the drop-down menu that gives a description of an entity (e.g. info_player_start). Now use the scroll bar to find your desired entity, and left click on it.
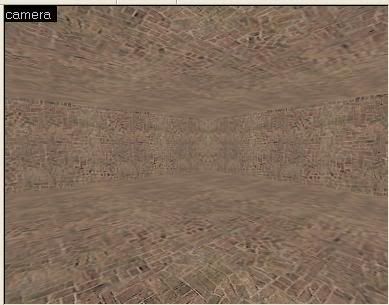
To place an entity, move the cursor over to the 3D Viewer, and position the camera so that it is facing the area in which you wish to place it. Now with the entity tool selected once again, left click on the area of the 3D Viewer to place the chosen entity.

The entity is now placed, but can be repositioned by using the 2D windows. This is demonstrated in Part 1 of this series.Now try placing some more entities. Use info_player_deathmatch to spawn players during HL2 games, a lightentity and weapon_shotgun. Be careful that entities are not positioned so that any part of them is hanging outside of the boundaries of the room, otherwise this will cause a leak when compiling.
No comments:
Post a Comment