This HL2 tutorial will explain how to recreate the same environment (outdoor) lighting as implied by your chosen skymap. I must express that these are only guidelines, as you may use any settings you wish for your map, although they may or may not match your sky. Therefore this guide will act as a marker for light settings. To use a sky, look up the skies list on the valve developer website:
http://developer.valvesoftware.com/wiki/Skies
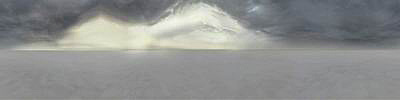
sky_day01_01
Pitch/Yaw/Roll 0 165 0
Pitch -35
Colour/Brightness 237 218 143 800
Ambience 190 201 220 100
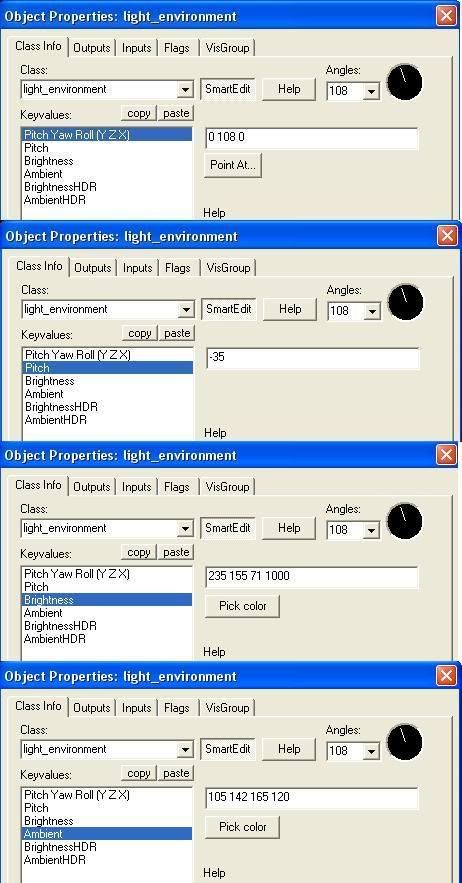
The four numbers are listed as explained just above. Pitch/Yaw/Roll is the direction of the light in terms of axis X, Y, and Z.Pitch again is the Y axis, otherwise known as up/down. Not sure why pitch is listed twice, but as you can do is follow the way valve have done it in their maps. Colour/Brightness is as it implies, the first 3 numbers are red/green/blue, and the 4th number is brightness value.Ambience in basic terms is the colour and brightness of the shadows. Therefore the 4th number may be a useful value to alter if your shadows are black, or too grey.These 4 options are found in the properties of the entity light_environment, which should be placed in your map, and also your 3D skybox if you have one. The correct way of inputting the values are shown below:
Before finishing, add the name of the skybox as shown below, you may access the correct box by selecting maps\map properties from your hammer menu.

You may also add a sun entity, env_sun. Be careful to place only once in your map, as it isnt needed in the 3D skybox. The pitch value in env_sun should match your light_environment pitch for best effect.
Now load Half Life 2 and test out your new map!
No comments:
Post a Comment